Introduction
This guide will help you install many of the additional components that will turn Ubuntu 8.04 into a perfect Desktop operating system.
What You'll Need
Ubuntu recommends a computer with 384 megabytes of RAM, and needs 4 gigabytes of disk space just for the install. I wouldn't go less than 512 megs of RAM, and a 20 gig hard drive.
You'll also have to download and burn (or otherwise acquire) the install CD for Ubuntu. I used ubuntu-8.04-desktop-i386.iso, located here. Be sure to choose the 8.04 LTS version.
Install Ubuntu
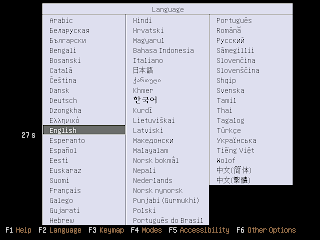
Choose your language
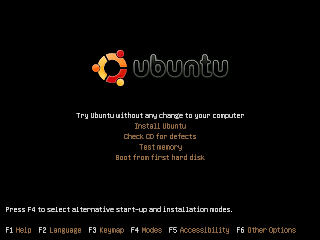
Check CD for defects. I highly recommend doing this. Even if you checked the download file, somehing wrong could have happened with the burning process. This ensures that the disk was not only downloaded properly, but burned properly
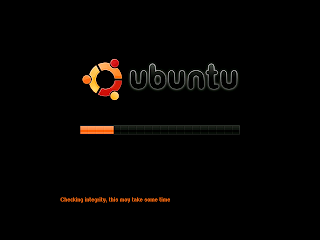
Be patient while the CD is checked for defects
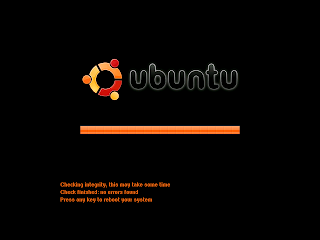
This is the result you want to see. The CD should be free of defects. Press Enter and your system will be rebooted

Choose your language

Try Ubuntu without any change to your computer
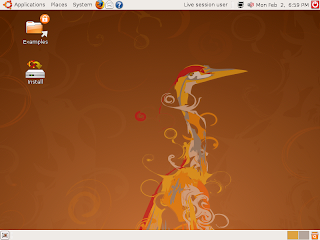
The computer will boot, and you will be presented with a live desktop. From here, you can play around with Ubuntu to see if you like it, or we can get started with the installer. Double click the Installer on the desktop.
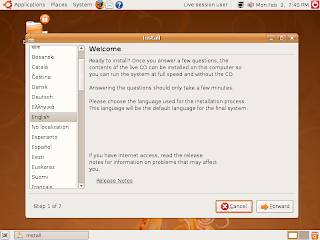
Here's the main install window. Feel free to read through the info, or click Forward.
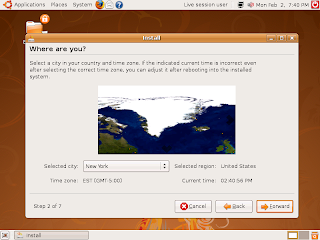
Select your timezone
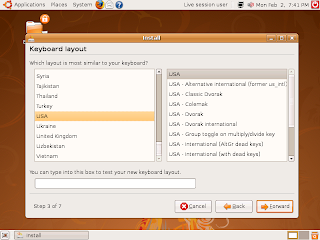
Select your keyboard layout
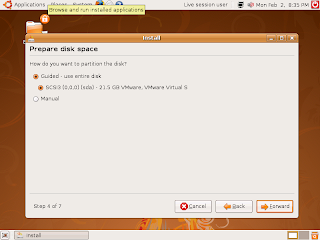
Configure your specific partitioning scheme, or Click forward to continue.
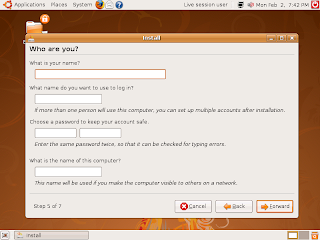 Enter your username, password, and computer name.
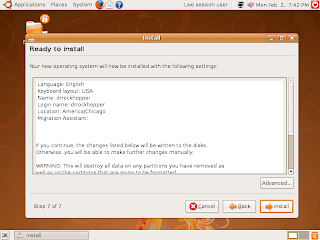
After clicking Install, the hard drive will be partitioned, formatted, and the system will be installed. Feel free to poke around the Internet or the desktop as installation proceedes.
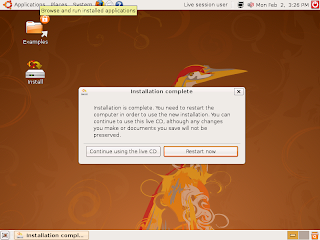
Click on restart, and Ubuntu will shutdown
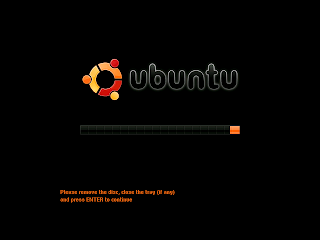
Press Enter to eject the CD, and continue to to reboot into your new system.
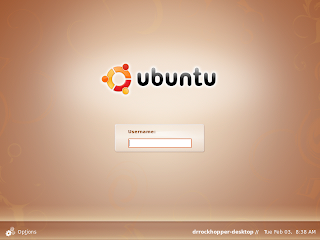
After the system boots, we're greeted with the Gnome Display Manager (GDM) asking us to log in
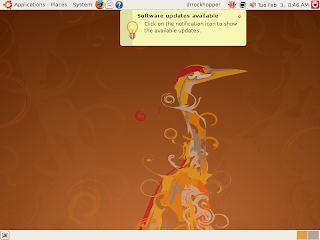
Here's the default Ubuntu desktop. It's great if you like orange. After a few moments, you'll get the warning on the top bar that tells you there's updates.
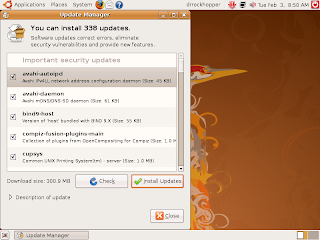
Click on the red down arrow in the top bar, towards the right of the screen. This starts the update manager. You can review the list of software to update. To install the updates selected in the list, click Install Updates.
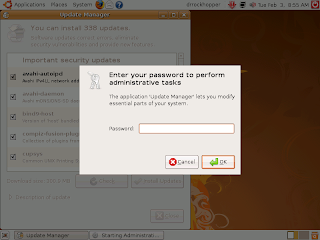
When asked, enter your password. Since you are modifying the system, you have to authenticate yourself since you're logged in as a normal user.
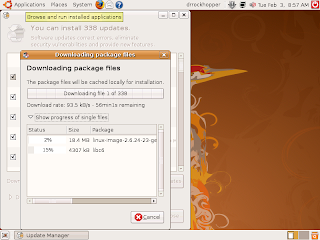
The progress meter now pops up. I click on the arrow next to "Show progress of single files". After the downloads complete, the updater will install the updates. If the kernel gets updated, you'll have to reboot.
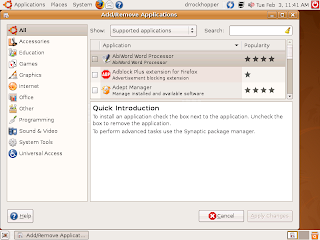
Now that we have an up to date system, let's start by adding a few items. There is an Add/Remove program under the Applications menu for adding and removing software. Feel free to use it if you like. I don't like it. The one nice feature that it has a popularity column. This is useful for new users unfamiliar with Linux.
Let's start by installing my GUI package management tool of choice, Synaptic. Enter synaptic in the search box, and press enter. You'll see as list of matching items (1 only one in this case) in the upper right box. Listed in the lower right box is a description of the package. By the check mark next to synaptic in the upper right box, you can tell the Synaptic is already installed. Close out Add/Remove Applications.
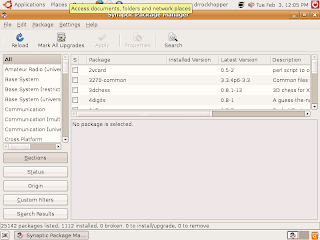
Open Synaptic from System -> Administration -> Synaptic Package Manager. Enter your password at the prompt. The default configuration has the necessary repos enabled. If you go to Settings -> Repositories, and go to the Third Party Software tab, you can enable http://archive/canonical.com/ubuntu hardy partner and click close. You'll get a warning the the repos have changed, and that you'll need to update the system. Click close. Click on Reload. This will update the software listing on your computer with the current data from Ubuntu.
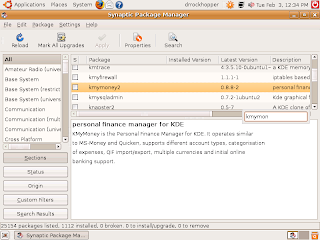
There is a search tool located in the top toolbar. Search terms are collected and posted under the search results tab on the lower left. Another nifty feature is that you can click on an item in the upper right side, and start typing a search term. It will search through the currently listed packages, even if it is search results. This is useful if you already know the name of the package you want to install, if you don't want to use the search tool at the top of the window.
So now you've seen both tools for installing software. Now, let's install a bunch of software from the command line. Go to Applications -> Accessories -> Terminal. As root, enter the following at the command line:
- apt-get install -y bluefish scribus k9copy inkscape kmymoney2 blender imagemagick amarok adobe-flashplugin thunderbird k3b sun-java6-jre sun-java6-plugin audacity digikam
Medibuntu
Medibuntu is not another spin-off of Ubuntu. It is a repository of software to extend the functionality of Ubuntu, specifically media related.
Now, let's add another repository to the list. Using your favorite text editor, add the following lines to /etc/apt/sources.list
deb http://packages.medibuntu.org/ hardy free non-free
#deb-src http://packages.medibuntu.org/ hardy free non-free
As root, enter the following at the command line
- apt-get update
- apt-get install --force-yes mediabuntu-keyring
- apt-get update
- apt-get install -y libdvdcss2 w32codecs acroread acroread-plugins mozilla-acroread
To avoid any unfortunate updates to the Ubuntu (like amarok being replaced with the medibuntu version), edit /etc/apt/sources.list, and comment out all the medibuntu line.
#deb http://packages.medibuntu.org/ hardy free non-free
#deb-src http://packages.medibuntu.org/ hardy free non-free
And at the command line, as root, enter
- apt-get update
Bonus
If you don't like to orange themes, then feel free to install the following:
- apt-get install -y blubuntu-look
Now activate the theme. Go to System -> Preferences -> Appearance. Select Blubuntu from the theme tab. Click Close.
Then go to System -> Administration -> Login Window. Click on the Local tab. Select the Blubutu GDM theme (be sure to click in the small radio button). Click on Background color. In Color Name, enger #3966A3. Click OK. Click close.
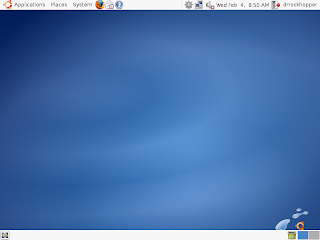
Say goodbye to orange!
No comments:
Post a Comment