Introduction
OK, I have to say that OpenSUSE lived on my desktop for 1 week. The reasons for its death are twofold. One, it was slow on my hardware. Two, I had an issue with converting RAW images from my digital camera. That was a showstopper for me. I could handle the speed issues, but I honestly didn't feel like mucking around with Image Magick and UFRAW to get things to work.
After a short vacation, Ubuntu has found its way home again. I can say that there's definite speed improvments with 9.04, than there were with 8.04 LTS. Despite the fact that I'm a fan of the LTS versions, I still chose 9.04. There's just a better feel of coherence, and better speed than the recent LTS version. This has restored my faith in Ubuntu. It took 30 seconds to boot, after POST, to get to the sleek login screen. For reference, my box is a P4 HT, 3GHz (dual cores @ 1.5GHz, not 1 core at 3GHz.), with 1.5 Gigs of RAM, and I use software RAID 1 on the boot disks, which are SATAII.
UPDATE
I have now figured out the problem with Image Magick and UFRAW. I am now putting OpenSUSE back on my system. It feels more solid that Ubuntu 9.04. Wine+Firefox works so I can upload photos to online stores in bulk with third-party add-ons that only work with the Windows version of Firefox. Sorry Ubuntu. The last 3 years have been great. But it's now off to OpenSUSE.But nevermind my specific reasons for choosing it. Let's get to installing it, and doing a few tweaks.
Get the Install Media
Go to the Ubuntu website and download the ISO. The ISO I used is ubuntu-9.04-desktop.i386.iso.
Install Ubuntu
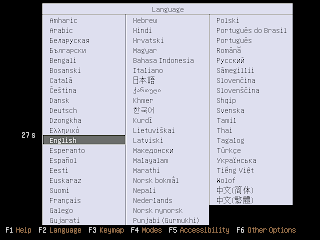
Select Your Language
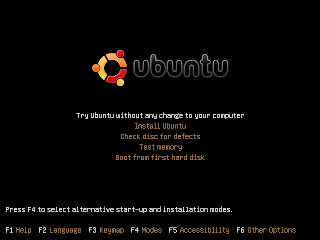
Select Try Ubuntu without any change to your computer
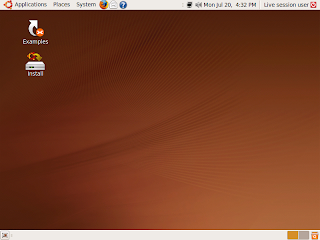
Here's the desktop. Double Click on Install.
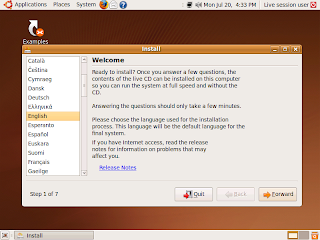
Click on Next
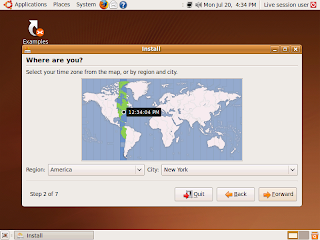
Select your location
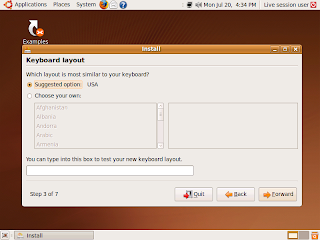
Select your keyboard layout
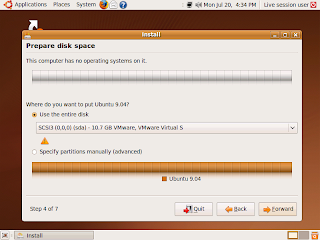
Partition your drive. Note that if you want to install to a RAID array, you'll need to use the "Alternate" install disk.
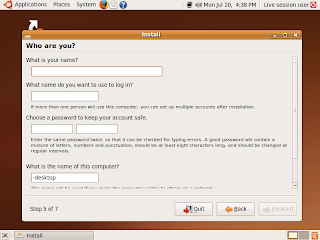
Enter your name and login credintials
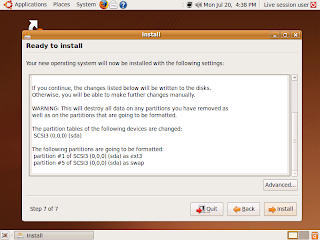
Double check settings, and Install. This is the point of no return.
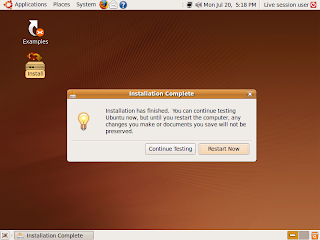
We're done! Click on Restart Now
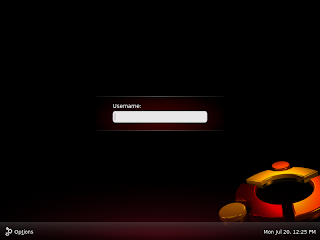
Log in. This is one slick looking GDM theme. It's about time!
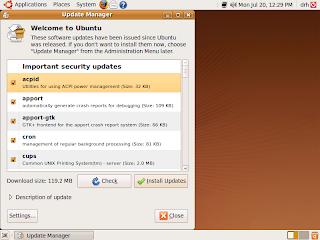
After a few moments the update manager will let you know there's updates. Click Install Updates to install them.
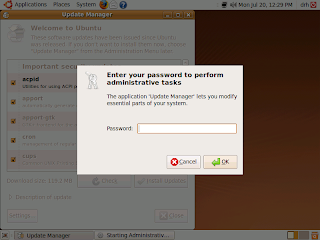
Since we're modifying the core system, you'll need to enter your password
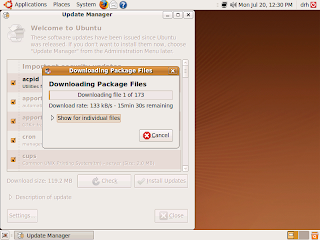
And away we go.
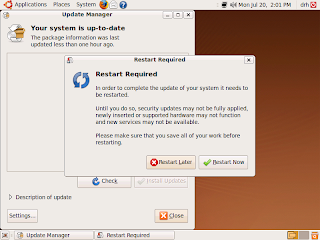
Reboot, and log back in
Customizing
Gnome Control Center
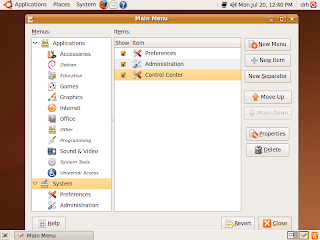
Let's turn on the Gnome Control Center. Go to System -> Preferences -> Main Menu. Click on System, and turn on the Control Center and click Close.
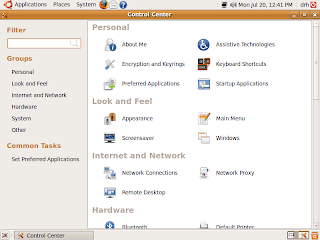
Now you can go to Syste -> Control Center, and get a panel that resembles OpenSUSE's YaST. I rather like it, but the rest of the tutorial will not use this.
Static IP Address
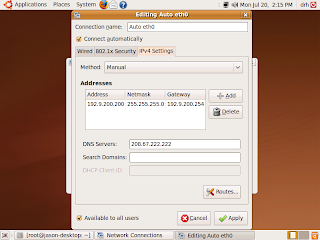
Go to System -> Preferences -> Network Connection. Edit eth0. You'll have to supply your password. Go to the IPv4 tab. Change Method to Manual. Enter you IP address, subnet mask, and gateway. Click apply, and close. You'll have to ifup eth0 and /etc/init.d/network restart for the settings to take hold. You may alternatively reboot.
Media Codecs
You'll probably want to be able to play any media file you come across. Let's load the codecs.
- sudo wget http://www.medibuntu.org/sources.list.d/jaunty.list --output-document=/etc/apt/sources.list.d/medibuntu.list
- sudo apt-get update && sudo apt-get install medibuntu-keyring && sudo apt-get update
- sudo apt-get install non-free-codecs w32codecs mencoder libdvdcss2 gxine libxine1-ffmpeg vlc
If you prefer Thunderbird to Evolution, install it.
- sudo apt-get install thunderbird thunderbird-gnome-support
- sudo apt-get purge evolution evolution-common evolution-exchange evolution-plugins evolution-webcal
If you're using the restricted drivers for your graphics card, you can add the Compiz settings manager to fine-tune your eye-candy.
- sudo apt-get install compiz-config-settings-manager
Startup Manager
Install this if you would like to adjust the boot process.
- sudo apt-get install startupmanager
I prefer Amarok to any other music player. Let's add it.
- sudo apt-get install amarok
- sudo apt-get purge rythmbox
DigiKam
This is my preference over F-Spot
- sudo apt-get install digikam
- sudo apt-get purge f-spot
Maybe it's just me, but I don't find much use for Tomboy. Eradicate it.
- sudo apt-get purge tomboy
- sudo apt-get purge libmono0 mono-common
- apt-get install bluefish inkscape scribus blender
-- DRH
No comments:
Post a Comment